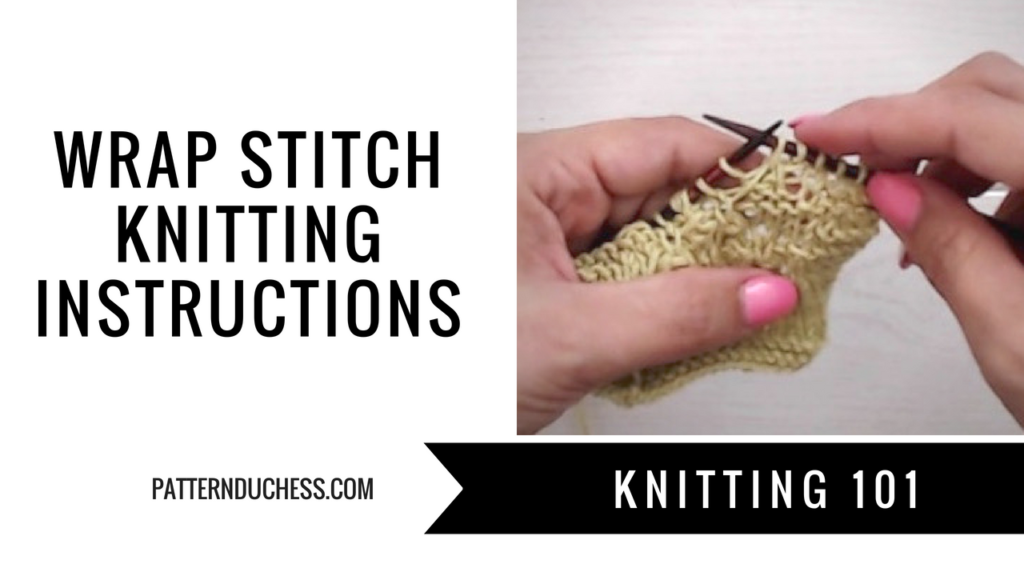
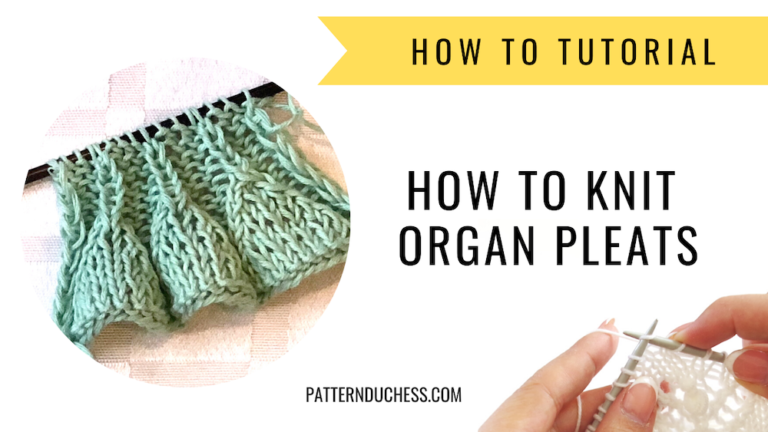
Wrapping a stitch is most commonly known as a part of knitting short rows, but did you know that you can wrap stitches to get an awesome textured effect? This knitting technique is so old, but somehow we’ve forgotten to use it as we have so many new things to try now. I think it’s time to bring out our old toys.
Wrapping a stitch (or stitches) is nothing more than it sounds – making a circle with your working yarn around a live stitch or stitches. You can make as many wraps around as many stitches as you want (or as pattern requires). You can wrap your yarn from back to front or from front to back – there’s no difference at all.
Here are knitting instructions for you…
Let’s try “k2w3″ – knit 2 stitches and make 3 wraps around them;
Knit 2 stitches and yarn in back slip them back to your left-hand needle.
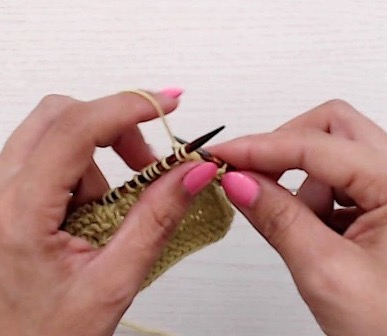
Now bring your yarn in front making a circle around those two stitches.
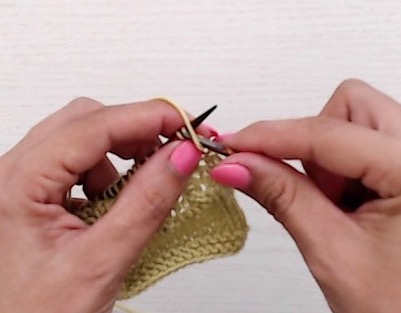
Holding yarn in front, slip those two stitches onto your right-hand needle, and bring yarn back again.
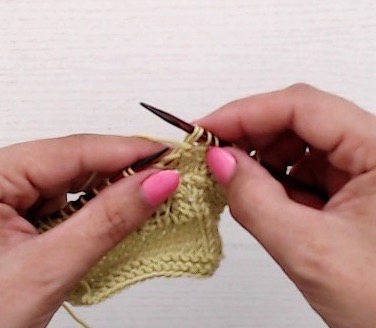
Make two more wraps this way and move on.
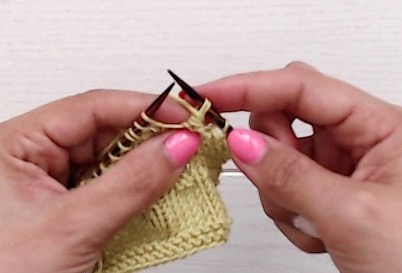
One option is to just leave these little bumps. It will create an amazing pattern and gives a unique character to your work. But…
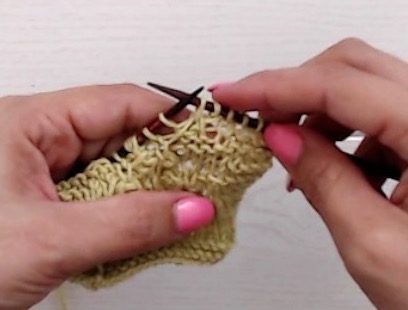
Another thing you can try is to pick those wraps up along the way. That will give you a whole new look (it’s like drawing on your knitted fabric). Note, that your wraps should be on a looser side if you want to do this.
Work 3 rows and make a wrap on top of each other on every row. On 4th row, pick up all 3 wraps…
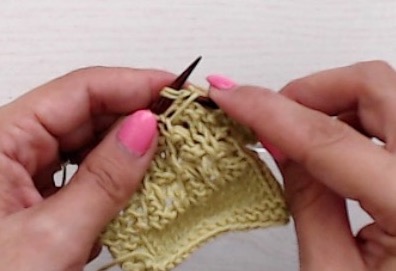
…slip them on your left-hand needle and knit together with your next working stitch.
Excellent tutorial, as always
Thanks Andi 🙂