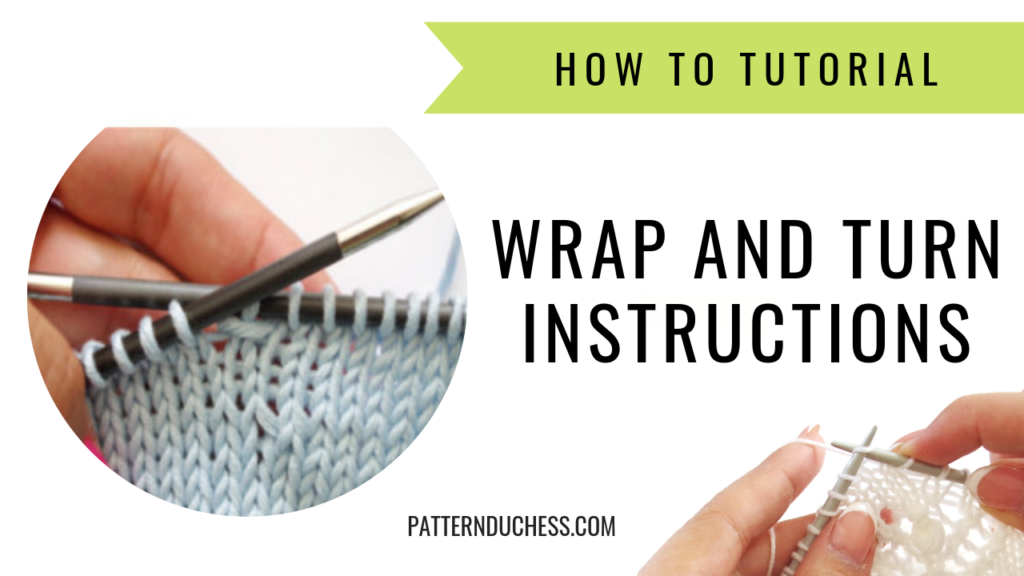
I used the wrap and turn knitting technique lately in my cabled baby hat pattern and I thought that maybe you would like to dig into it a little bit. You know – get the know-how.
Using wrap & turn knitting stitch in the patterns
You can see wrap and turn in knitting patterns mostly as abbreviations: w&t; W&T; /or fully written out: wrap one (1) and turn; / or just referred to as short rows.
Why wrap and turn?
Let’s start by talking about why you even need this wrap and turn thing. In general, you’ll need this to turn your knitting. To make slants or corners.
If I lose the “wrap” word then you have only “turn”, right? Well, it is what it says – turn. I’ll show you in detail.
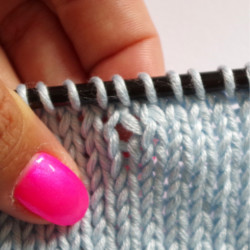
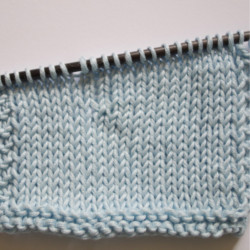
Knit somewhere in the middle of your swatch, turn your work and purl back. If we now make full rows, you’ll be able to see that there is a hole in your work.
It happened because knitting is really binding your yarn and connecting stitches with one another and by just turning your work, you didn’t connect these stitches.
So, in one sentence – the whole purpose of wrap and turn in knitting is really just connecting your stitches, so you don’t have this ugly hole in your work.
Wrap and turn instructions
Wrap and turn on knit side
Knit to the point where you want your wrap and turn to be.
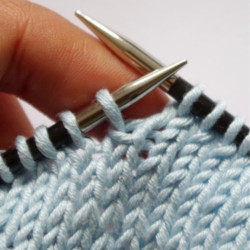
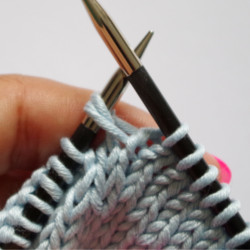
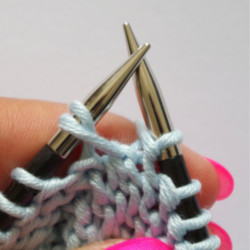
Bring yarn to front, slip next stitch purlwise (from the left-hand needle onto right-hand needle)…
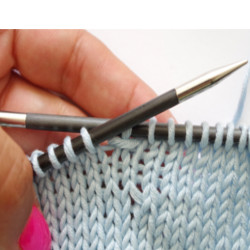
…bring yarn to back, slip slipped stitch back to left-hand needle and turn. Purl your next row.
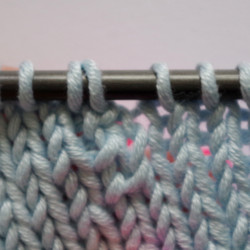
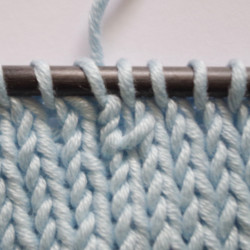
This is how it will look like:
Now knit to the point where you can see your wrapped stitch.
You have two options at this point:
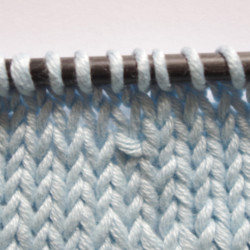
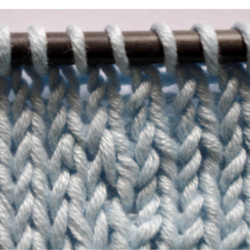
One is just to knit forward and do nothing (this is how it will look like).
I usually like to use this method when I want the showing yarn to have a decorative purpose – like on sock heels.
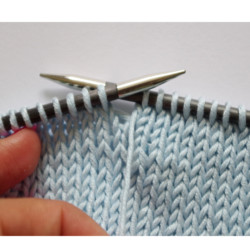
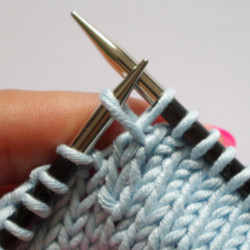
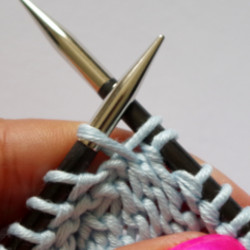
Or do this: slip wrapped stitch from left-hand needle to right-hand needle, with left-hand needle grab the wrapping yarn…
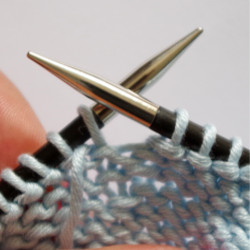
… and slip your wrapped stitch back on the left needle. Knit the wrapping and wrapped stitch together and knit to the end of row.
You can see that you have this beautiful knitting with nothing much to show. Cool, right?
*If you have knitted your swatch with me then you’ll start to notice that our work is slanting a little. That’s our goal.*

Wrap and turn on purl side
Purl to the point where you want your wrap and turn to be.
Bring yarn to back, slip next stitch purlwise (from the left-hand needle onto right-hand needle), bring yarn to front, slip slipped stitch back to left-hand needle and turn. Knit your next row.
This is how it will look like:
Now purl to the point where you can see your wrapped stitch.
You have two options at this point:
One is just to purl forward and do nothing (this is how it will look like).
Or do this: slip wrapped stitch from left-hand needle to right-hand needle, with left-hand needle grab the wrapping yarn …
… and slip your wrapped stitch back on the left needle. Purl the wrapping and wrapped stitch together and purl to the end of row.
Remembering which way to bring yarn
How do you remember which way you have to bring your yarn?
It’s actually logical. If you’re making the knit stitch then you automatically hold your yarn at back. So you will be bringing your yarn to front and then to back.
If you’re purling then you have your yarn at front, so you need to bring it to back and then at front.
Difference between wrapping on knit side or wrapping on purl side
Now – what is the difference between a wrap and turn on the knit side or wrap and turn on purl side?
If you take a look at your work then you’ll notice that if you made your wrap and turn on the knit side, then your work started to slant to left. And if you made your wrap and turn on the purl side, then your work started to slant to right.
That’s the difference.
Wrap and turn holes / gaps
You made your wrap and turn and you still have a gap. I feel your pain, but there is a solution. This may happen when you make a wrap too tightly. Loosen it up a little bit. Better?

I don’t understand how to actually do it in the cable hat pattern
Do I w&t and actually turn
In 1 st wrap and turn is there stitches on the left needle and you physically turn the work or do I continue to the end then turn
Hi Joanne, yes – you actually turn your work, and yes – you should have stitches on left to do that. You will work w&t where indicated and work from other side of the row.
For example, let’s say you are on the right side of the work. You need to w&t. You will do that, and then move on with instructions for the wrong side of the row. And so on…
Hope that helped 🙂
I am knitting a knee warmer. The pattern calls for numerous rows with a W&T at the end of each row.
It does not indicate anywhere to pick up the wraps.
Do I just leave them and continue with ribbing as I started with before the W&T.
Thanks
I think you can just leave them.
Hi. I am knitting a pattern which says
“ knit until 12 stitches to the previous wrap, w&t”
Does this mean knit to stitches before previous wrap or just knit to previous wrap, w&t?
It’s a UK English pattern and the verbiage is throwing me. Thank you.
Not sure, I think knit until you have 12 sts before the previous wrap…
Thanks for this explanation of wrap & turn. It certainly solved the mystery for me. Again, thanks very much.