Also see the video tutorial down below
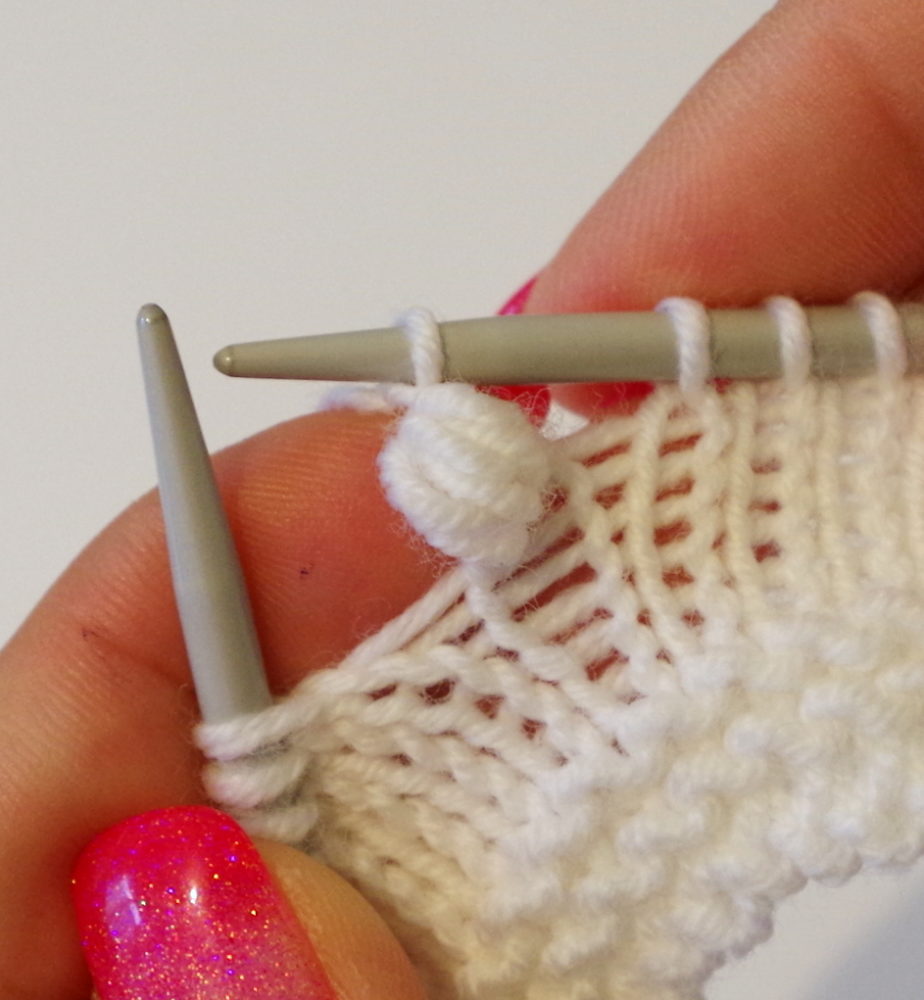
1. Ready to make the “nupp”
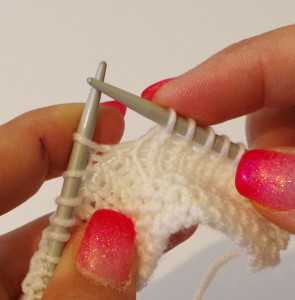
2. Knit one, but don’t let the stitch off of left needle
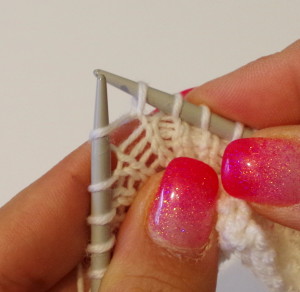
3. Yarn over
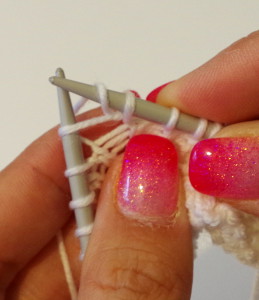
4. Knit again (in the same stitch)
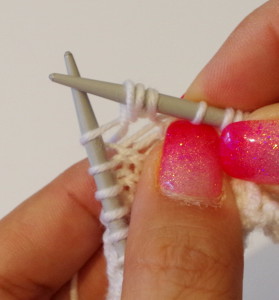
5. Repeat steps #3 & #4 one or two more times (now you have 5/7 stitches on right hand needle)
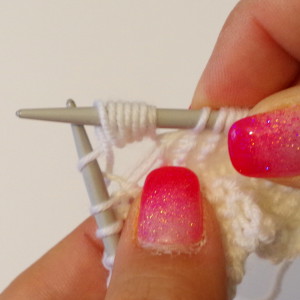
*steps #2 to #5 – loosely*
6. Now let the stitch on left needle go
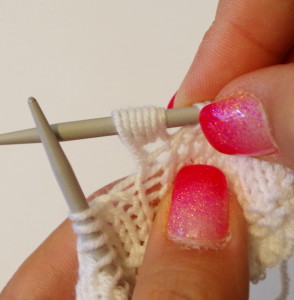
Here comes the tricky part:
7. Insert left hand needle in all of those 7 stitches – (be careful so you don’t grab the other stitches on this needle)
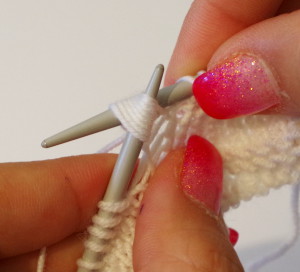
8. With right hand needle grab the yarn…
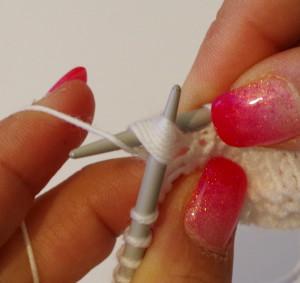
9. …and pull through (you can use crochet hook if you can’t make it with the needle)
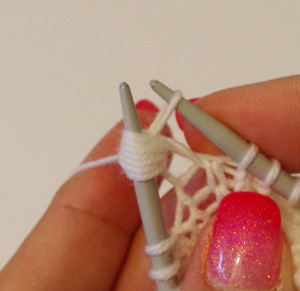
10. With right hand needle, take yarn again…
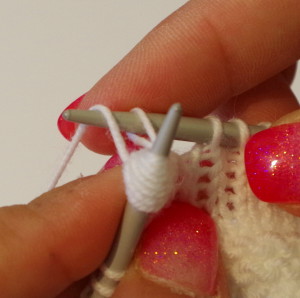
11. …and pull through the stitch you formed in step #9
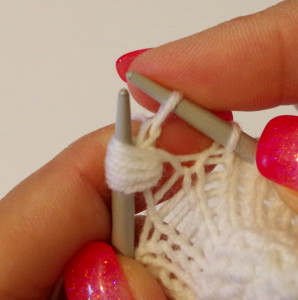
12. Take the left hand needle out and tighten the stitch.
You have finished your “nupp”!
BUT, I’m giving you a secret formula for perfecting it some more.
Usually, there will be one row between “nupp” rows – purl row, if you knit back and forth or knit row, if you knit in rounds.
Right now I am showing you the purl row option (purely because my swatch is knitted in back and forth).
You can totally just purl your next row without doing anything special and it will be fine, but I, personally, don’t like the hole left.
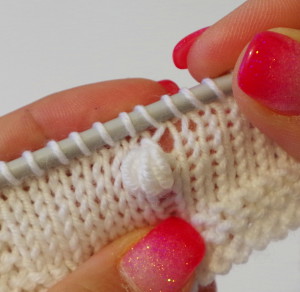
Can you see?
So this is how I do it:
1. Purl until the “nupp” stitch
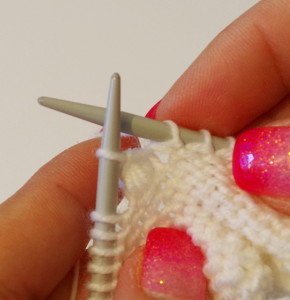
2. Lift “nupp” on to the right hand needle
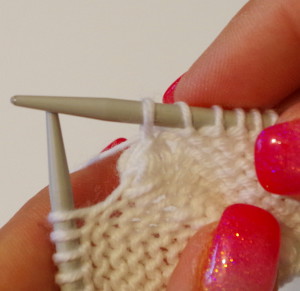
3. Pick up a strand between stitches…
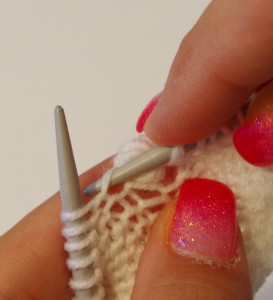
4. …and put it on a left hand needle so it forms a little twist
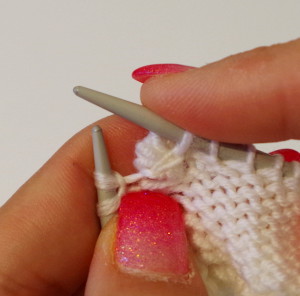
5. Lift “nupp” stitch back to the left hand needle…
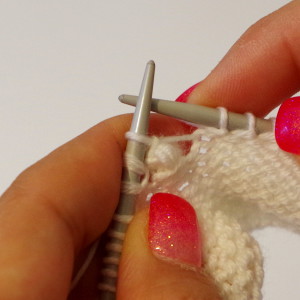
6. …and purl the twisted yarn stitch and “nupp” stitch together.
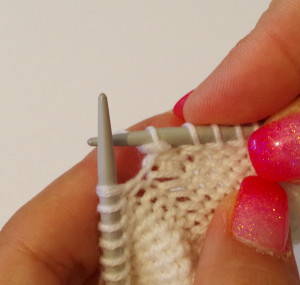
Here you go! Done! I knew you can make it ?
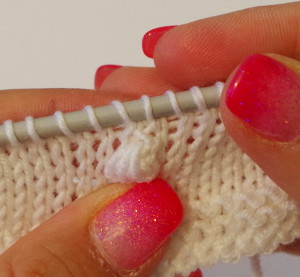
Although this is not necessary, I feel like this extra step is fixing my “nupp” more and making it kind of firm and steady.
