We have knitted pleats sideways before, but today we’re going to knit boxed pleats. This is a more advanced thing, but not hard, once you get the know-how.
Some people call this technique knitted ruffles. I don’t know which one is correct. I do know that you’re going to need it in my next project.
And by the way – it is very nice knitted edging. I’m sure you’ll find a way to use it.
So let’s practice.
Grab some yarn and needles.
Cast on 50 stitches and knit 2 rows.
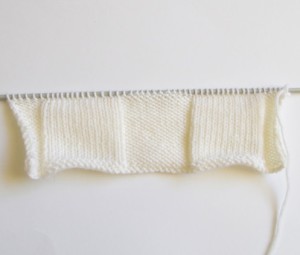
Row 1: purl 6, *knit 13, purl 12* repeat to last 6 stitches, purl 6;
Row 2: knit 6, *purl 13, knit 12* repeat to last 6 stitches, knit 6;;
Repeat rows 1 & 2 for 10 times.
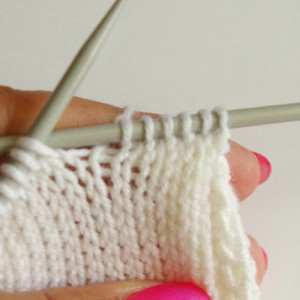
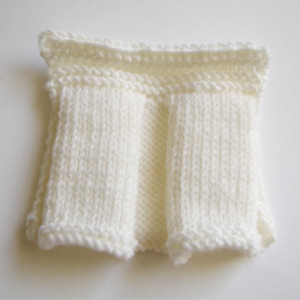
This is what you should have at this point.
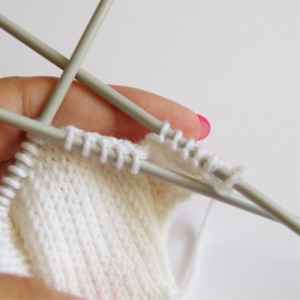
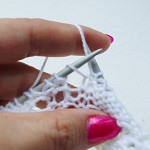
Step 1: we have to arrange our stitches a little bit.
Slip first six stitches on to right-hand needle;
and slip next five stitches on your extra needle;
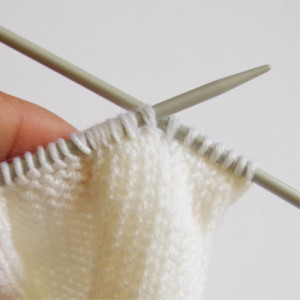
Step 2: we’re going to put these stitches back to left hand needle:
1 stitch from right-hand needle;
1 stitch from extra needle;
Repeat this 4 times more.
End with 1 stitch from right-hand needle;
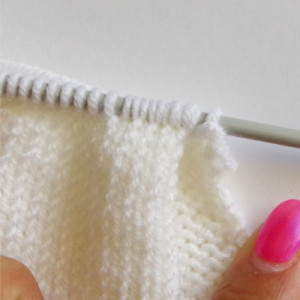
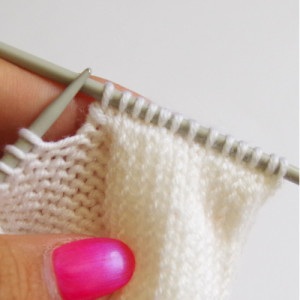
Step 3: let’s knit a bit:
Knit two stitches together – 6 times total;
Knit 1 stitch;

Step 4: arranging stitches again
Slip first six stitches on to your extra needle;
and slip next five stitches on right-hand needle;
Step 5: and put it back
1 stitch from extra needle;
1 stitch from right-hand needle;
Repeat this 4 times more.
1 stitch from extra needle;
Step 6: and knit:
slip, slip and knit two slipped stitches together – 6 times;
Repeat steps 1 to 6;
Cool, isn’t it?
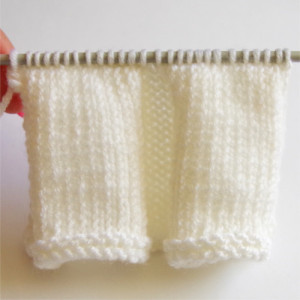
Let’s finish beautifully – knit 4 rows; purl 1 row; knit 4 rows; and cast off.

Pattern Duchess: just wanted to express just how much I love your web site. You not only give us beautiful patterns to enjoy making, you also teach those of us who are new to knitting how to achieve good results with the items we make. Thank you for all that you do. 🙂
Thanks, Carla! 🙂
Lovely tutorial. What can we do if we want to first start from unpleated part and then create pleats. I want wo knit a topdown dress so i want the pleats to start from the bodice. Thanks
I don’t know… I haven’t knitted this way… I guess there is an option to increase stitches where you want the pleats to be; that’s an interesting question and I might try it out when I get better