On my last post about “How to knit 2-in-1 boot cuffs“, came up topics I haven’t really thought of.
It’s how to sew buttons and how to make buttonholes.
Usually, I just make these without thinking and think everybody else can do the same.
What induced me to make this picture heavy tutorial, is that I would love to make my patterns so thorough and simple to follow, that even beginner knitter can manage. I know I have a long way to go but I’m trying 🙂 So, in order not to make my pattern posts too long, I just make separate posts on knitting techniques.
I would like to emphasize though, that I’m not telling you that my way is the only way. One thing knitting has taught me is that there are so many good and reliable knitting techniques you can choose from. This is just the simplest way for me that my fantastic grandmother taught me. And now I am teaching you.
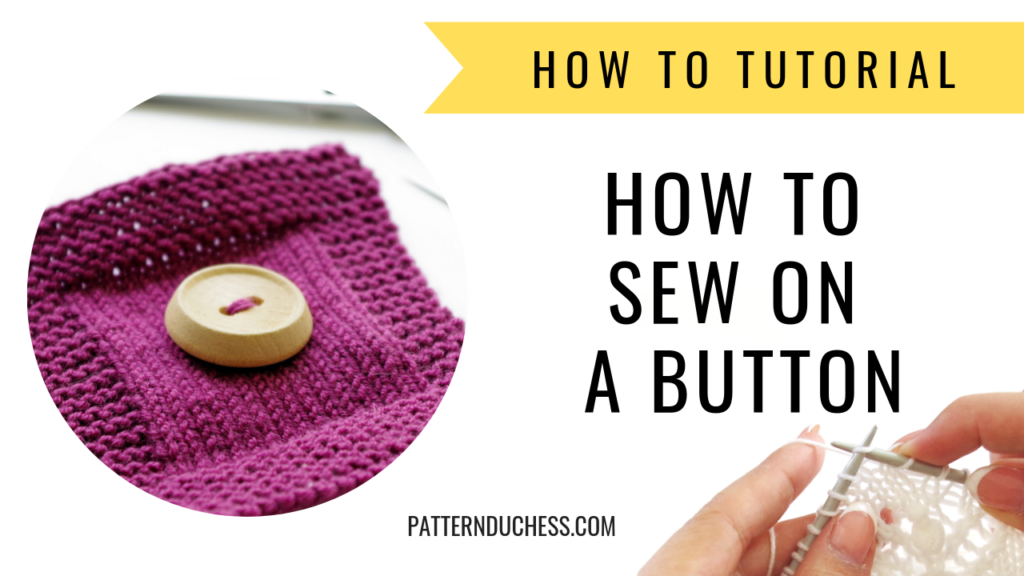
On to the button sewing tutorial.
Sewing buttons on knitted garments are like sewing buttons on usual fabric (maybe easier even). No special trick really.
You will need:
- knitted fabric (naturally)
- button (of course)
- yarn to match your knit garment (color and size)
- needle (I will point out that your needle should be big enough for your yarn, but small enough to go through the holes on your button)
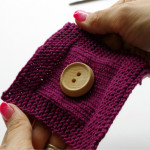
1. Thread the needle and determine the spot where the button will go
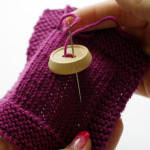
2. Take the needle and insert it from the wrong side to right side, pulling through the left buttonhole
3. Leave little bit yarn end for sewing later (on wrong side)
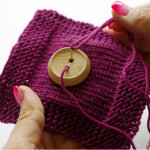
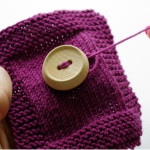
4. Now insert the needle in the right button hole…
5. …and pull to the wrong side (now you have two yarns on wrong side)
6. Now insert the needle from the wrong side to right side so that you insert the needle exactly the same spot you did in step #2. Repeat steps #4, #5 and #6 one more time making sure that you insert and pull out the needle at the same spot every time.
7. Now insert the needle in the right button hole without inserting it in the garment
8. Pull tight
9. Bring yarn around the button…
10. … so that you have loose loop…
11. …insert needle through formed loop (as if to pick it up)…
12. …to form a knot and pull tight
13. Now insert needle in the fabric
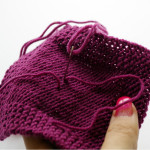
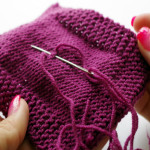
14. Fasten yarn and hide it (on wrong side)
15. Now take the other yarn that was waiting, fasten it and hide.
Finished!
