Skill level: Intermediate (read more about skill levels of knitting patterns here)
Gauge: 10 x 10 cm = 21 sts x 28 rows
Time: varies, but about 6 to 10 hours
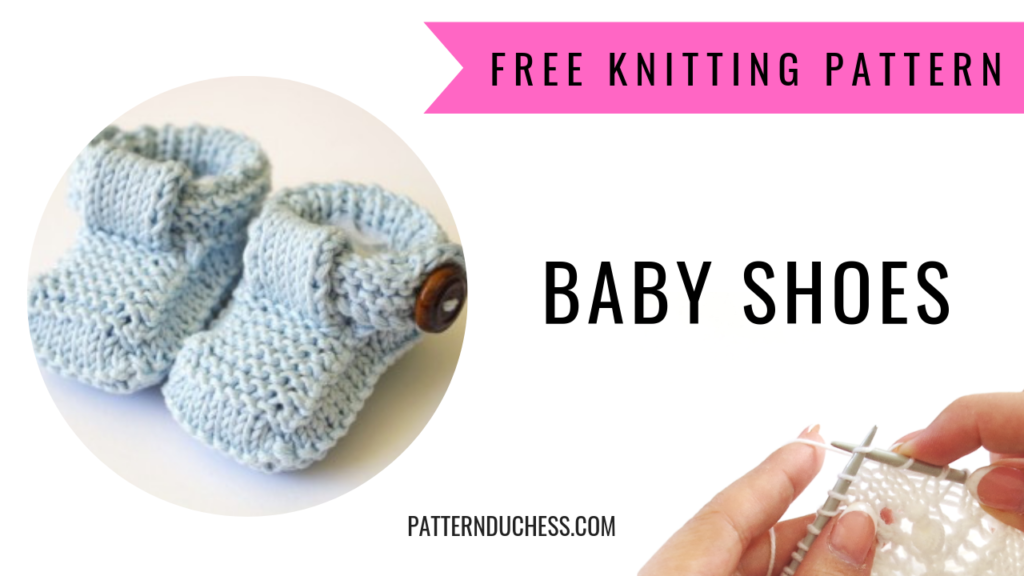
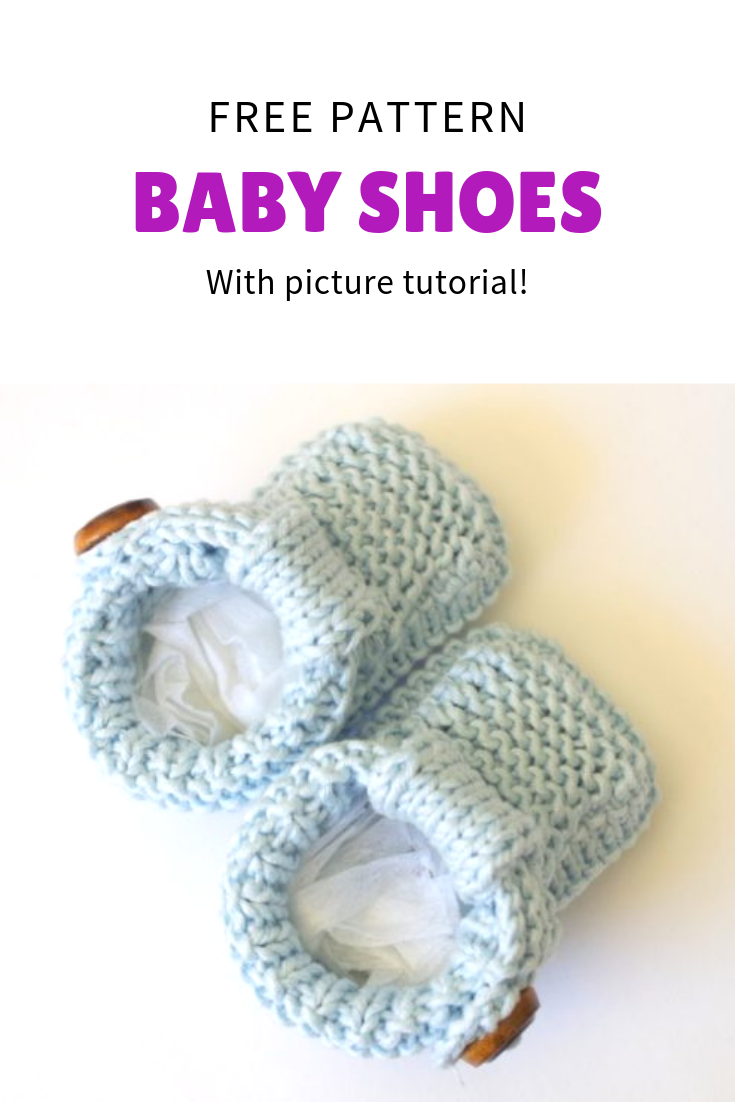
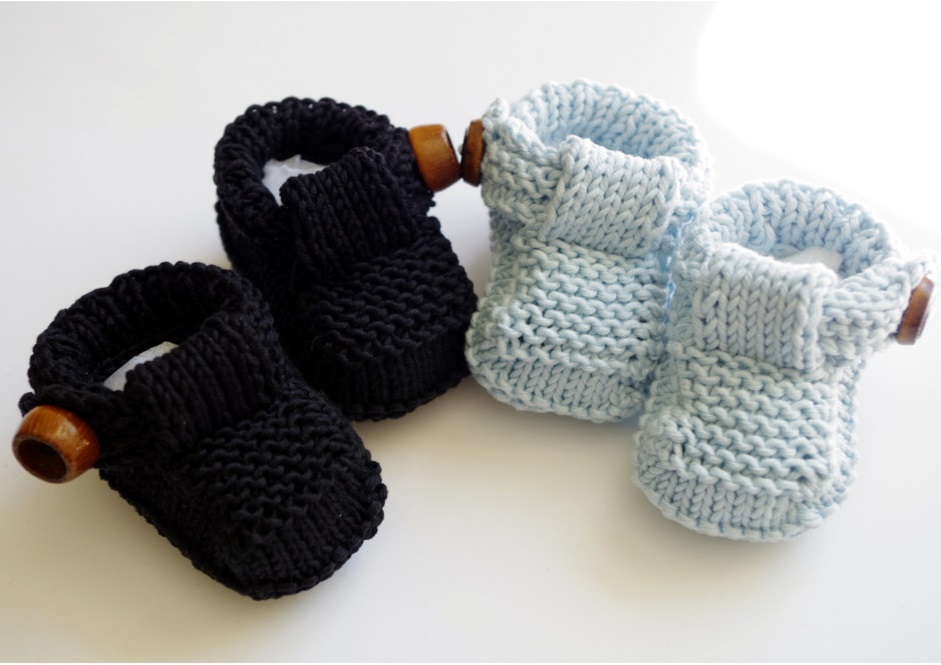
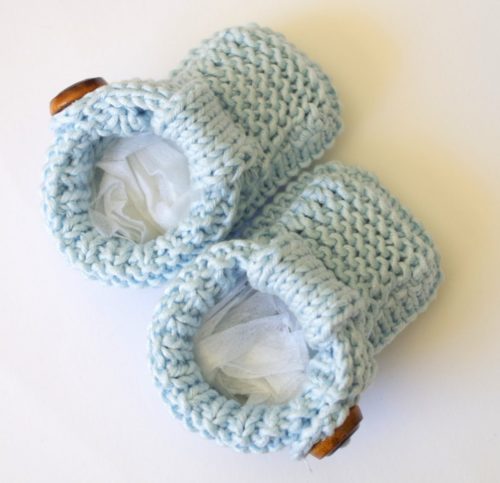
There are a lot of cute baby shoes knitting patterns out there, but I wanted these booties to look like actual shoes - with t-strap and low cuff. Adding those details makes this pattern a bit more challenging with picking up stitches in the middle of work and buttonholes. But it’s not impossible and you can totally replace it with sewing.
Perfect weekend project, and who doesn’t like knitted baby shower gifts (especially when you made it) 🙂
Pattern is for 0 to 3 month-old baby
You’ll need:
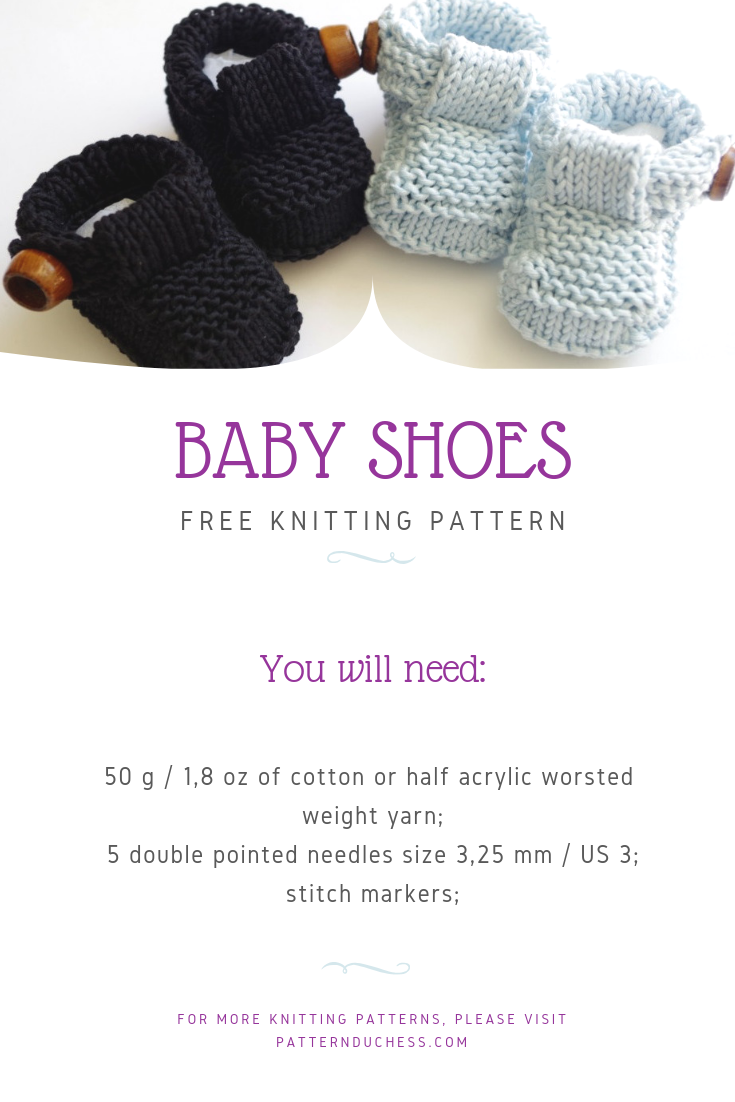
- 50 g / 1,8 oz of cotton or half acrylic worsted weight yarn;
- 5 double pointed needles size 3,25 mm / US 3;
- stitch markers (not obligatory, but useful for marking the beginning of the round);
Get the printer friendly pattern here:
Abbreviations:
- k – knit;
- sl st – slip stitch;
- M1R – make 1 new stitch (right-leaning);
- M1L – make 1 new stitch (left-leaning);
- ssk – slip, slip, knit together;
- k2tog – knit 2 stitches together
- p – purl;
- w&t – wrap and turn (don’t pick up wrapped stitch if not noted);
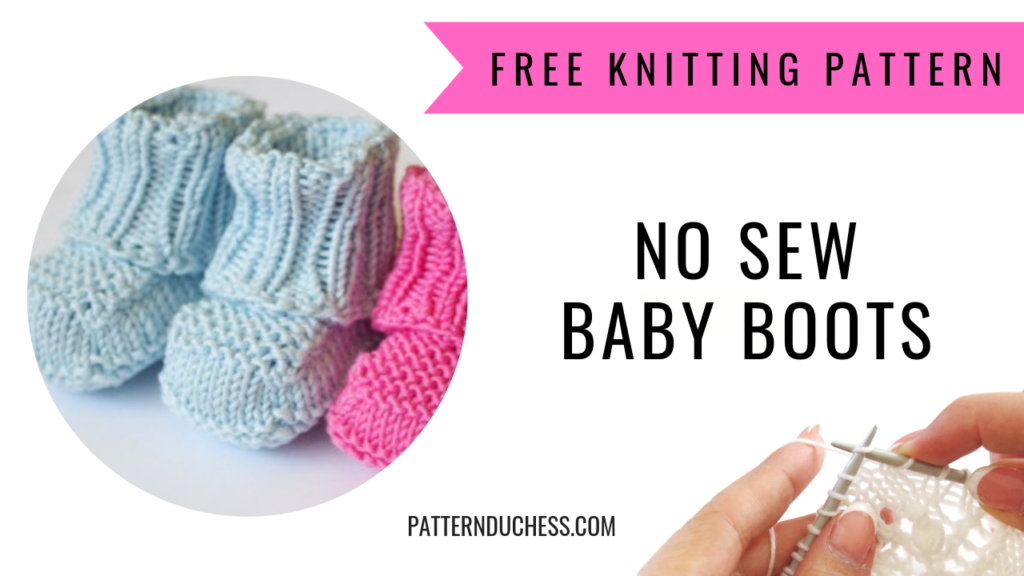
If you feel that this current knitting pattern is too much for you then maybe you would like to try my other pattern “No Sew Baby Boots”:
Baby shoes knitting pattern:
Sole:
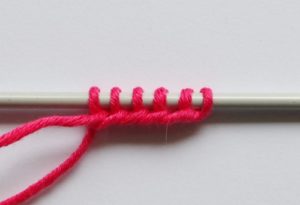
Cast on 6 stitches.
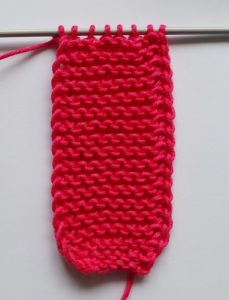
*Knit back and forth*
Row 1: k to end (k all sts);
Row 2: Sl 1st st, k1, M1R, k2, M1L, k2;
Row 3: Sl 1st st, k to end;
Row 4: Sl 1st st, k2, M1R, k2, M1L, k3;
K 30 rows (sl 1st st of each row)
Sl 1st st, k1, ssk, k2, k2tog, k2; (in this pattern – this would be the “toe” needle with 8 sts)

Don’t turn:
(with second needle) pick up 17 sts from one side (this would be “side” needle);
(with third needle) 6 sts from the heel (this would be “heel” needle);
(with fourth needle) 17 sts from other side (this would be “side” needle);
Sides:
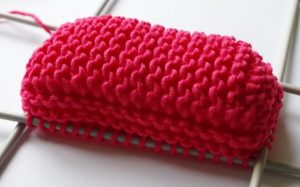
*Knit in rounds*
Place marker to mark the beginning of the round (if you need it, of course).
- Rnd 1: p;
- Rnd 2: k;
- Rnd 3: p;
- Rnds 4 – 5: k:
- Rnd 6: k to last st;
Shoe top:
*Knit back and forth again, turning where noted*
Slip last stitch from “side” needle onto next needle (“toe” needle)
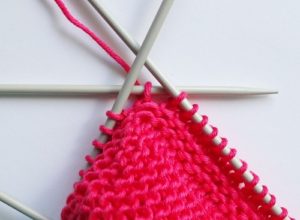
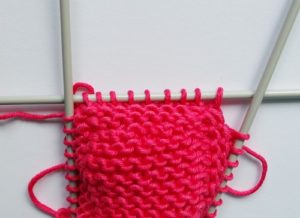
Row 1: ssk, k6 – now you have to k2tog, but you have 1 st on this needle, slip 1 stitch from next “side” needle onto “toe” needle – k2tog, wrap & turn (you’ll be wrapping a stitch from “side” needle)
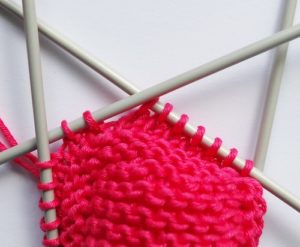
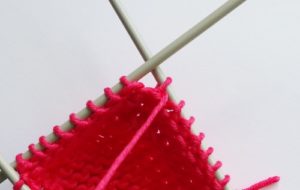
Row 2: k9 – only you have 8 sts on your “toe” needle, knit those 8 sts and 1 st from “side” needle – w&t;
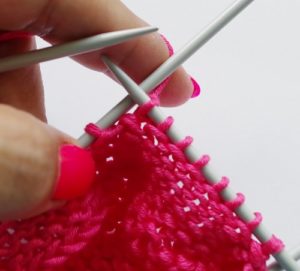
Row 3: repeat row 1 as before;
Repeat rows 2 & 3 total of 6 times ending with row 3 (you have 10 stitches on both of your side needles).
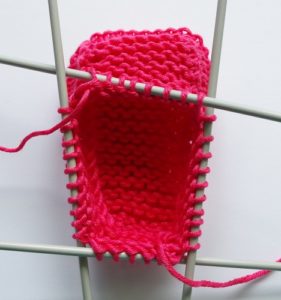
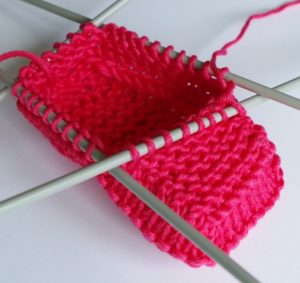
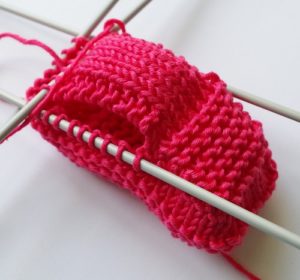
Strap holder:
Continue with the stitches on “toe” needle.
Row 1: p8, turn;
Row 2: k8, turn;
Row 3: p8, turn;
Repeat rows 2 and 3 in total of 9 times.
With additional needle or stitch holder, pick up stitches from row 1 (from previous section) at wrong side of the work, knit together with working stitches and cast off at the same time all 8 sts.
OR – cast off and sew onto wrong side of row 1st.
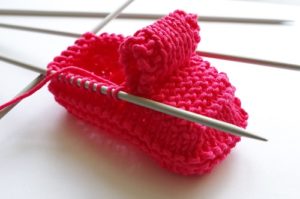
Back and straps:
You will be working on with your other three needles - 10 sts on first needle, 6 sts on second needle and 10 sts on third needle.
LEFT SHOE:
(continue back and forth with other needles)
- Row 1: p;
- Row 2: p and cast on 12 sts, turn;
- Row 3: k;
- Row 4: k33, cast off 3, k2; (if you don’t want to make a buttonhole then just knit this and next row without cast off and cast on steps)
- Row 5: k2, cast on 3, k to end (you just formed buttonhole);
- Row 6: k;
- Row 7: Cast off 12 sts and k to end;
- Row 8 – 9: k;
- Row 10 – 14: *k1, p1* to end;
With additional needle or stitch holder, pick up stitches from row 1 at wrong side of the work, knit together with working stitches and cast off at the same time.
OR – cast off and sew onto wrong side of row 1st.
Wave in ends. Make a loop for button if you didn’t make a buttonhole and sew button on.
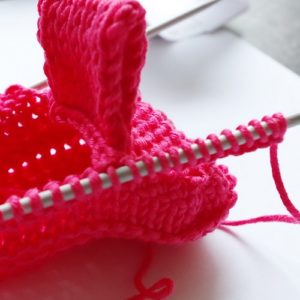
RIGHT SHOE:
(continue back and forth with other needles)
- Row 1: p and cast on 12 sts, turn;
- Row 2: p;
- Rows 3 – 4: k;
- Row 5: k33, cast off 3, k2;(if you don’t want to make a buttonhole then just knit this and next row without cast off and cast on steps)
- Row 6: k2, cast on 3, k to end (you just formed buttonhole);
- Row 7: k;
- Row 8: Cast off 12 sts and k to end;
- Row 9: k;
- Row 10 – 15: *k1, p1* to end;
With additional needle or stitch holder, pick up stitches from row 1 at wrong side of the work, knit together with working stitches and cast off at the same time.
OR – cast off and sew onto wrong side of row 1st.
Wave in ends. Make a loop for button if you didn’t make a buttonhole and sew button on.
how should we pick up heel stitches….please explain.
You will pick up your heel stitches like you’ll pick up stitches from sides. It is little harder to differentiate your stitches from cast on, but it doesn’t have to be perfect. Pick up where you can to get the needed stitch count.
I hope it was little bit helpful.
which size is this for? how many months old baby?
Babies are different, but using this yarn it will be perfect for 3 to 6 month old. Using finer yarn you get smaller shoes.
what size needles and yarn are you using for this pattern?
Oh wow, I haven’t noted that - thank you! DROPS Muskat is the yarn and needles size 4mm / US6
Thank you 🙂
Tried to get the pattern but i get page goes not exist
Thank you! I tweaked my systems the other day and looks like I tweaked it way off 😀 Should be good now!
I love your babies booties
Please send me your free patten for a two year old baby boy.
Thanks
Thanks! Unfortunately, I have this pattern in one size (I would say 3 to 6 months), but I’ll send it your way.
I am an experienced knitter, but am having trouble understanding this pattern in parts. When you state “short directions” and then “longer directions” below it, does that mean we’re to pick one or the other? It’s also not clear when you say “knit back and forth” what you mean (is that for one needle or the whole round — but then sometimes you say “round 1 etc” so I’m obviously very confused. I wish I didn’t need to be a pest but I’m determined to make these. Is there by chance a pattern “for dummies only” for this because they’re exquisite and I want to make it work.
Thank you.
Hi Cindy, sorry for the delay (I was sick). I’ll try to explain and I’m planning to re-write this pattern to make it more clear.
1. If I say “knit in rounds” then I mean all needles in rounds.
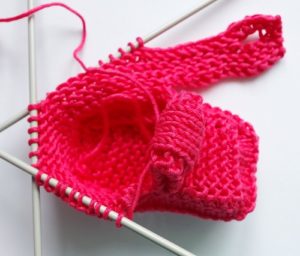
2. short vs long directions - you will choose only one version and work with only one needle (“toe” needle + working needle). You will just knit back and forth to form the flap that you can see on the picture right next to the directions.
All questions are very welcome, and let me know if something is confusing.
I would like to have the pattern in spanish please
I don’t speak Spanish, sorry 🙂
I have a friend how has ask me to translate the pattern into Spanish. If you like I can send the translation to you, in case you want to publish it.
Mila
Hi Mila, Thank you! That would be great, yes please 🙂
Hey Duchess! I can’t believe I just now found you but I’m so glad I did! Your website is truly a treasure trove! One question about the pattern. I may be missing it. But I’m looking for the gauge. Your help will be greatly appreciated. Thanks so much for what you do and being so generous!
Ah, so sorry. It’s 10 x 10 cm = 21 sts x 28 rows
Also had difficulty understanding if I was to use both long n short instructions.